Well I have been blogging about nails for a few months now and I briefly described my nail regimen at the start. Most things have remained the same but a few have changed so I decided to document my official (for the moment) nail regimen. As the name of my blog states, “For me, It works”. I hope it will work for you also. Again, I don’t claim to be a professional, I just know what works for me.
I change my polish approximately twice a week but I only do a full manicure-cuticles, shaping, and all about once every 1-2 weeks. I will explain why later.
My Regimen:
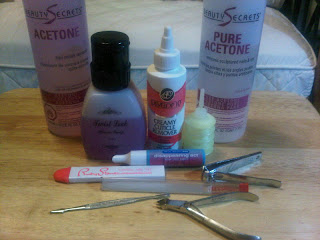 |
| Tools for a Manicure |
1. First, remove all traces of old polish. I know that many have a heartfelt philosophy regarding Acetone or non-Acetone. Personally, unless I am wearing acrylics or patches, I use Acetone. Because I moisturize several times throughout the day, I am not worried about drying out my nails or cuticles. I use whichever strengthening/nourishing polish remover I find on sale. IMO, they all work pretty much the same. I purchased a remover pump bottle from Sally Beauty Supply to help handle the remover.
2. If time allows, my next step is to soak my nails in warm water. In the water I add a denture whitening tablet, and some Vitamin E oil. I allow my nails to soak at least 5 minutes. This helps to soften the cuticles as well as whiten my nails.
3. After I have soaked my nails, I dry my hands and apply a cuticle remover. Here is another area where I don’t have a steadfast staple product. I rotate between Lemon Brite Varoom Creamy Cuticle Remover, True Blue Spa Disappearing Acts Cuticle Remover (discontinued) and Develop 10 Creamy Cuticle Remover. Each of these works as they should to remove my cuticles. I use either an orangewood stick or a cuticle pusher to remove any cuticle buildup. If by chance I have any hangnails I use my cuticle nippers; never pulling any hangnails.
4. If I am in need of a trim, I use a nail clipper and/or my Essie Crystal Nail File (LOVE IT!!!) Once I have trimmed back my nails, I buff and shape my nails using a Crystal File and a buffer block. This is to make sure there are no snags or ridges. Buffing the nails helps to remove ridges but you must be careful not to over buff as this can thin the nail. Crystal files help to seal the free edge of your nail unlike the old school emery boards.
5. By this point my hands and nails are usually dry and covered in dust. I take this opportunity to oil my cuticles and give my hands a good exfoliation. I use whichever body/hand scrub I have nearby.
6. There are several premade cuticle oils on the market; some of which I have tried. But after some research, I decided to make my own. I mix Jojoba Oil, Sweet Almond Oil, Vitamin E Oil, and Lemon Essential Oil for fragrance. After the exfoliation, my hands are soft and refreshed. I follow this step with a good hand crème.
7. My favorites are Gold Bond Ultimate with Shea Butter and True Blue Spa-look ma, new hands with Paraffin.
8. Each night before bed, I apply cuticle crème/balm and my cuticle oil. My favorite balm, which of course has been discontinued is True Blue Spa Cuticle Treatment with 59% Shea Butter. My other option is Orly Cuticle Therapy Crème. I apply the balm/crème directly to my cuticle, and a apply the oil to my nails-tops and underside. I try to apply the oil at least twice a day-morning and night. The key is to keep you nails moisturized.
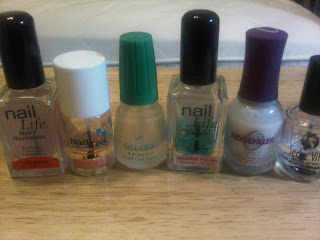 |
| Steps to Chip-free Polish |
9. If I intend to polish my nails, which is most of the time, there are steps to take also. With these steps that I follow with every polish change, I very seldom have problems with chipping, peeling, or stained nails.
10.First, it is imperative that all traces of oil are removed from the nail bed. So I take a cotton ball, dipped in alcohol and wipe down each nail, including the free edge. Next are the products and steps I take when applying nail polish:
a. Nail Treatment: I apply 1 coat of either Nail Tek Xtra or Nail Life Nail Revitalizer
b. Nail Strengthener: I apply 1 coat of Gelous Advance Nail Gel Coat
c. Adhesive Base Coat: I apply 1 coat of Nail Life Gripper
d. RidgeFilling Base Coat: If needed, which is not often, Orly Ridgefiller base coat.
e. 2-3 coats of nail polish
f. Top Coat: 1 coat of Seche Vite’ Fast Dry Top Coat
11. Again, I realize that this seems like a long process but I only do a full manicure approximately every 1-2 weeks. Following these steps has helped me to keep my nails strong and healthy.
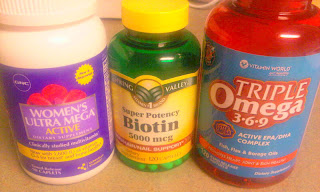 |
| It's not just about the outside... |
12. Outside of the manicure process and in conjunction with my healthy hair journey, I also take supplements and drink plenty of water.
Again, this is what works for me. If by chance some of this works for you, Great!!!
Grace and Peace.
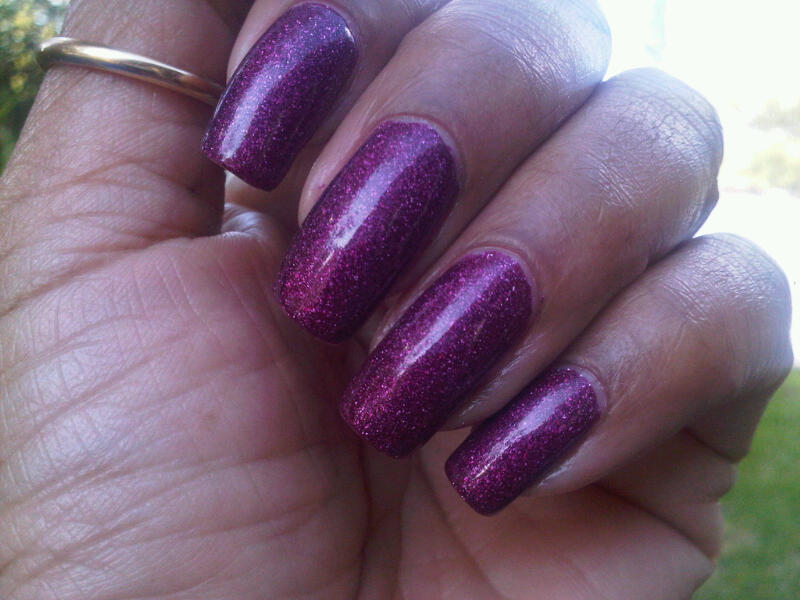
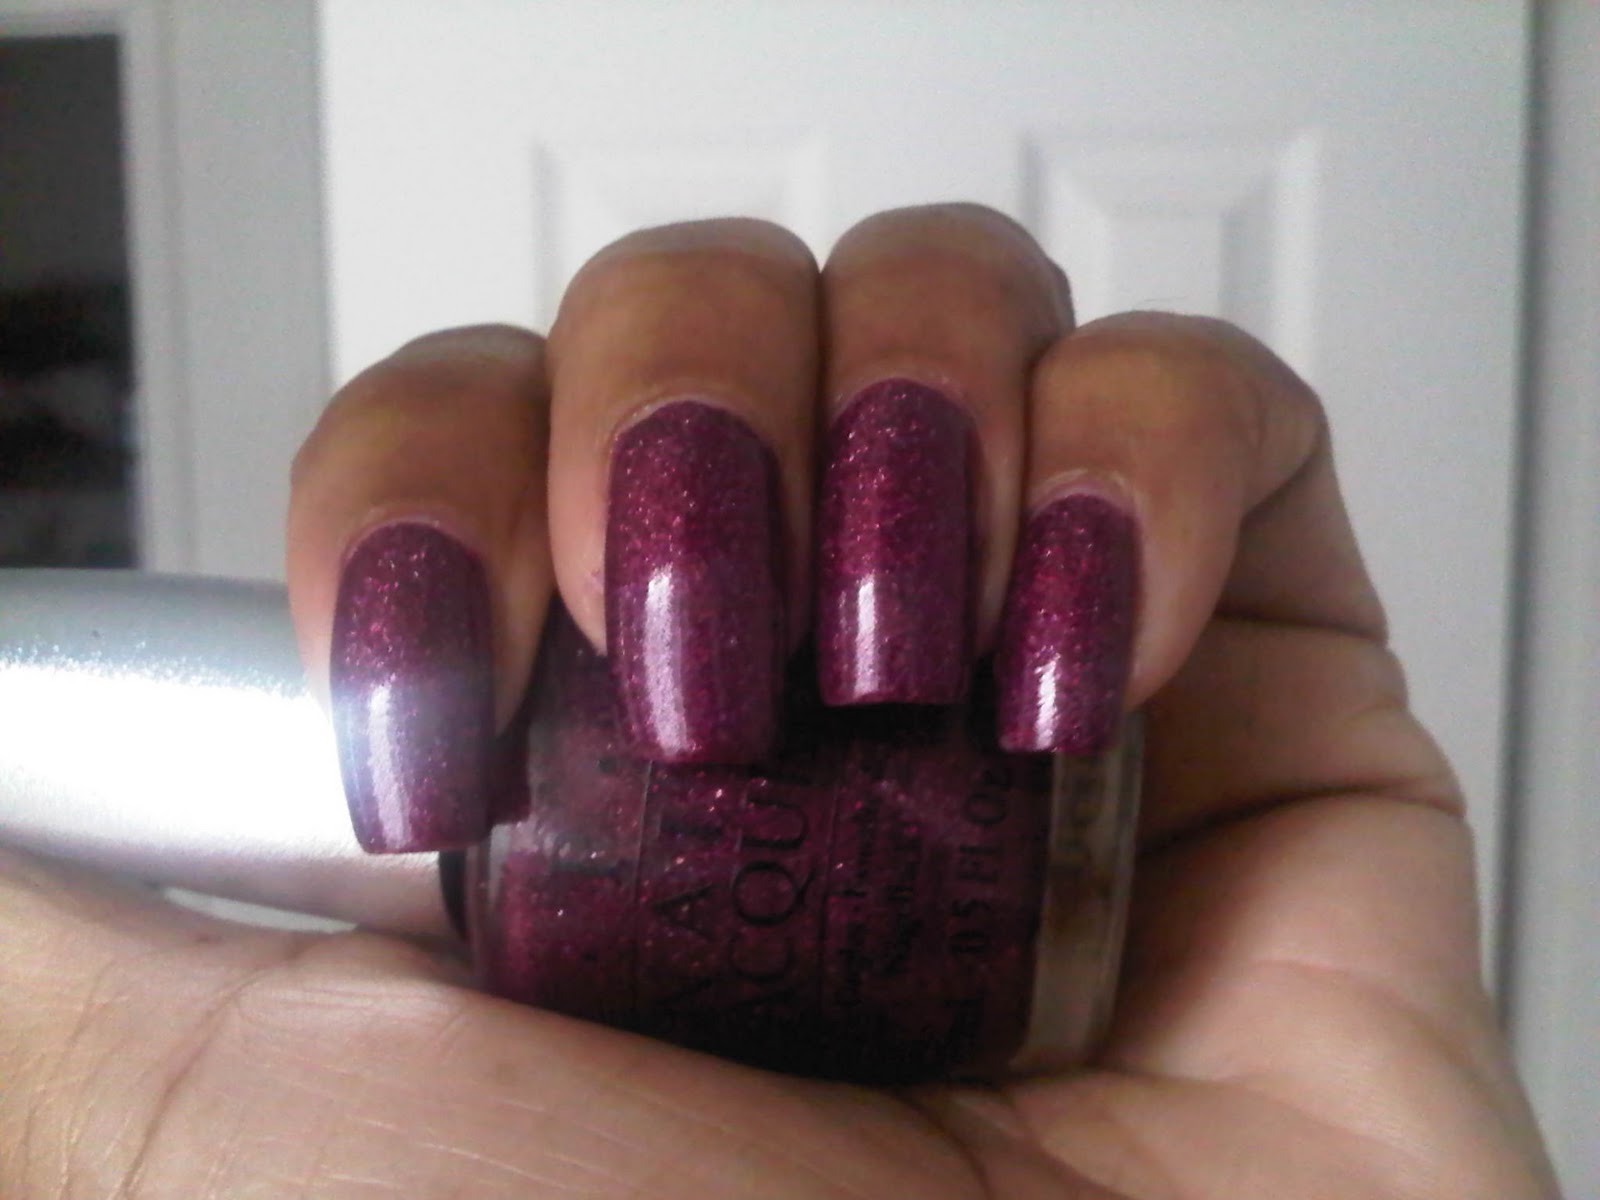
 After my first disappointment with the OPI DS line (DS Jewel) I was hesitant to try any others. But happily I did and so far I am in love with the polishes I have purchased. I blogged about Extravagance a short while back and today I have OPI DS Illuminate for you. It is beautiful. Another one of the polishes I can't stop looking at. It think one of the reasons I like it is that it is so close to my skintone and therefore, has that elongating effect to my fingers. I have also acquired OPI DS Reflection and DS Opulence, so I will be providing updates on those shortly. I can't wait for OPI to release more in the DS line. The two latest, Magic and Mystery are not on my list to purchase.